When your RV park arrival goes smoothly, it positively sets the tone for your whole stay. Most check-in stress comes from skipping a few simple steps beforehand. Here is a beginner-friendly walk-through of what to do, in order, from the day before you arrive to the moment you check in.
Before You Arrive: The Call Ahead
The most useful thing you can do before pulling in is call the park the day before or the morning of your arrival. Confirm your reservation and ask for your site number if it hasn’t already been assigned. You can also ask whether there is anything specific you should know about getting to your site, such as tight turns, low-clearance areas, or one-way lanes.
If you know you will be arriving later than expected, let the park know as soon as possible. Do not wait until the office is already closed. It is also worth confirming the check-in window. Check-in times at RV parks typically fall between 1 p.m. and 4 p.m., though this varies by park. Arriving during that window gives you the best chance of getting into your site while the staff is available to help.
At the Office: What to Expect
Pull into the designated check-in area rather than heading straight for your site. Many parks require you to stop by the office first to confirm your reservation, collect any remaining payment, and receive a map of the property. Bring your reservation confirmation with you, either printed or on your phone.
The office visit is also the right time to ask practical questions. Where are the dump station and water fill? Is there anything to know about your specific site? What are the quiet hours? A few minutes at the office can save a lot of walking around later.
Pulling Into Your Site: The Slow Approach
Drive through the park slowly. Many parks post a 5- or 10-mph speed limit, and the roads often wind past active campsites where people are outside. Use your park map to find your site before you start maneuvering.
Once you reach your site, take a slow pass before you commit to backing in or pulling through. Look at the angle, trees, hookups, picnic table, fire ring, and any nearby vehicles. A quick look first can make the parking process much easier.
If you are new to backing a trailer or positioning a motorhome, do not rush. Most experienced campers remember being in your position and will not mind waiting. If you have a co-pilot, agree on hand signals before you start. Clear communication works better than shouting back and forth.
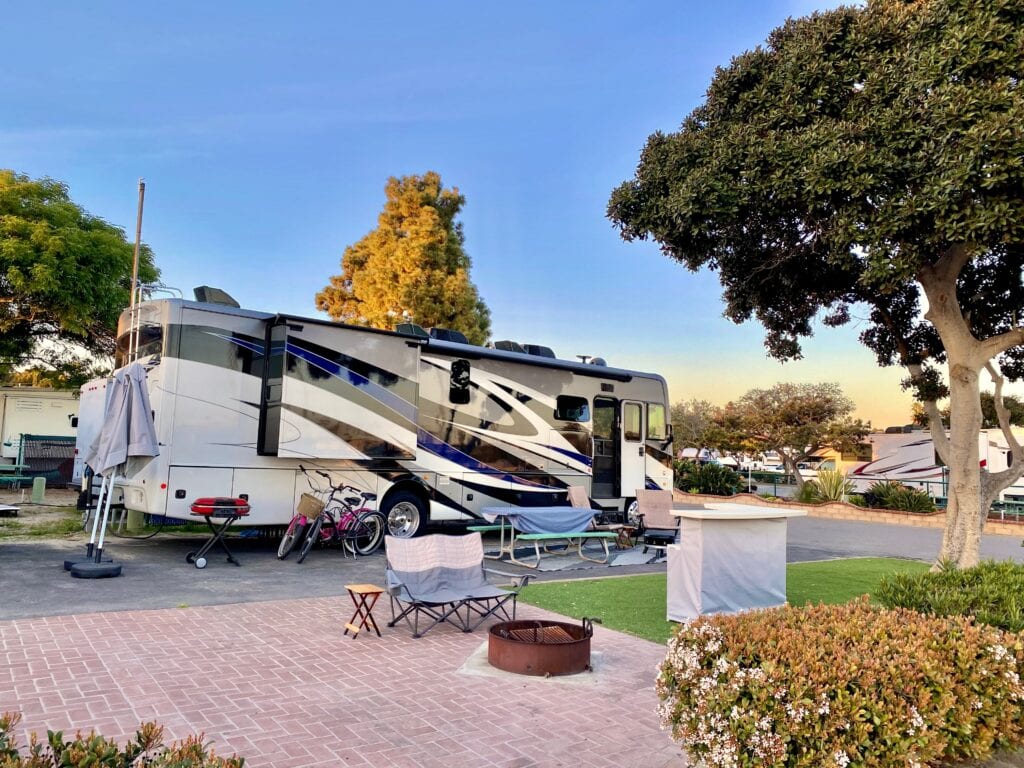
Setup Order: What to Do First
Once you are positioned and level, work through your hookups in a consistent order. This helps make sure nothing gets missed. A common sequence at many sites is to chock your wheels, connect shore power and water, extend your slides, and then connect sewer if you are on a full-hookup site. Make sure you follow the same order every time. The habit makes setup easier and reduces the chance of forgetting a step.
Test your connections before unpacking. Turn on a faucet to confirm water pressure. Check that your power is live. Make sure no hose or cord is pulling, pinched, or stretched before you start setting up your outdoor space.
After You’re Parked: The Walk-Around
Before you settle in completely, do a quick walk-around of your rig. Check that all compartment doors are latched and that the slides are extended fully. If applicable, confirm that your hitch or tow bar is disconnected. Make sure your towed vehicle or tow car is parked where it belongs.
Performing a walk-around takes a couple of minutes. It can catch small things that are easy to miss after a long day of driving. If anything is wrong with the site, report it to the office promptly. That might include a faulty power pedestal, a water connection that does not work, or a drainage issue. It is better to ask for help early than to work around a problem for your whole stay.
After-Hours Arrivals: How Parks Usually Handle It
If you cannot make it before the office closes, contact the park as early as possible. Many parks have after-hours check-in procedures in place. A common setup is an envelope or packet posted at the office door with your name on it. It may include your site assignment, a park map, and basic arrival instructions. You find your site, get settled, and check in with staff the following morning.
That said, after-hours policies vary widely. Some parks prohibit arrivals after a certain time or after dark. Others have staffed gates around the clock. A few do not allow new setups past quiet hours. The only reliable way to know what applies at your specific park is to ask in advance.
Book with Town & Country RV Park Today!
Town & Country RV Park sits in Bridge City, Texas — less than 3 miles from the Orange County Advanced Power Station and within a 20-minute drive of every major refinery and LNG facility in the Golden Triangle. Our sites come with all utilities included and free WiFi, so you can park, plug in, and get to work. Book with us today!
Frequently Asked Questions
What is the typical RV park check-in time?
Check-in times at RV parks commonly fall between 1 p.m. and 4 p.m., though each park sets its own window. Confirm the specific hours with your park when you call ahead.
Can I arrive late?
Many parks have after-hours arrival procedures, but policies vary. Some parks cut off new arrivals after dark or during quiet hours. Always contact the park in advance if you know you will be arriving late.
What do I do at check-in?
Stop at the office before heading to your site. Bring your reservation confirmation, confirm your site assignment, pick up a property map, and ask any questions you have before you pull in.
How long does setup usually take?
Setup time depends on your rig and experience level. A basic full-hookup setup usually takes 20 to 45 minutes for many RVers once they are familiar with their rig. That includes leveling, connecting power and water, and extending slides.